- Mokume-Gane Carving: Handwork That Breathes Life into Patterns
- 1. Introduction
- 2. Purpose of Carving
- 3. Types of Carving
- 4. Tools and Techniques
- 5. Impact of Carving Depth
- 6. Carving Strategies Based on Pattern Design
- 7. Common Carving Errors and Solutions
- 8. CAD & 3D Technology in Carving Design
- 9. Carving and Light Interaction
- 10. Carving vs. Polishing
- 11. Conclusion
- 12. Notes on Variability
- 13. Educational Applications
- 14. References
Mokume-Gane Carving: Handwork That Breathes Life into Patterns
Table of Contents
- Introduction
- Purpose of Carving
- Types of Carving
- Tools and Techniques
- Impact of Carving Depth
- Carving Strategies Based on Pattern Design
- Common Carving Errors and Solutions
- CAD & 3D Technology in Carving Design
- Carving and Light Interaction
- Carving vs. Polishing
- Conclusion
- Notes on Variability
- Educational Applications
- References
1. Introduction
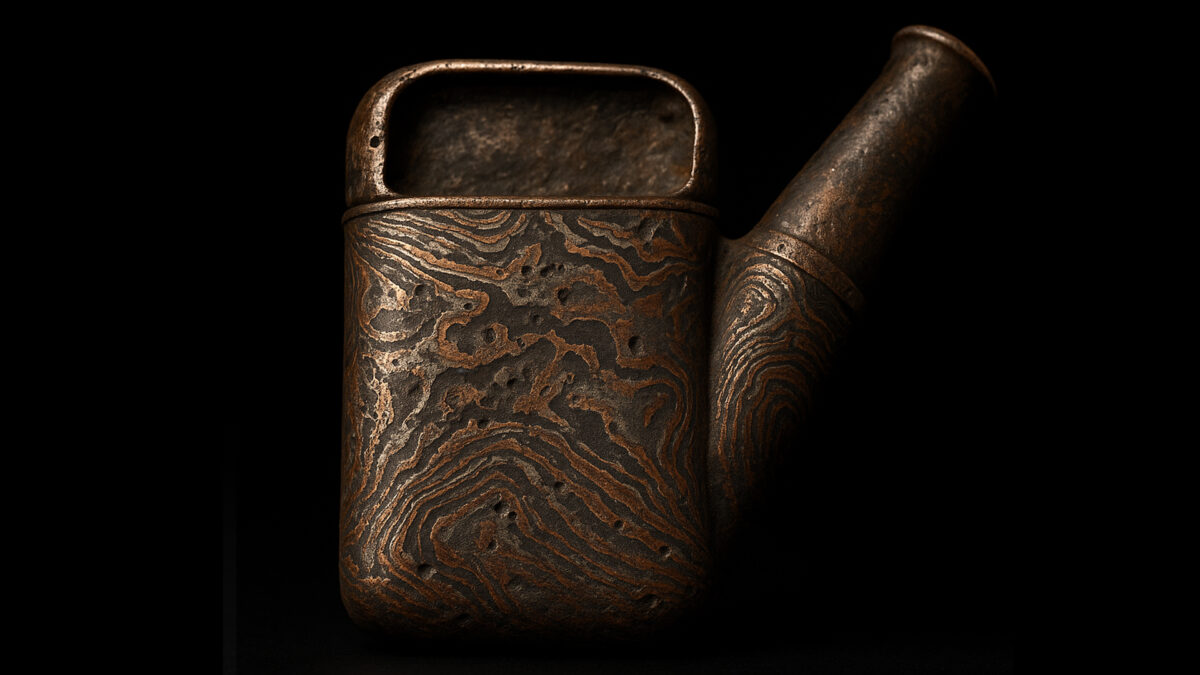
The unique beauty of Mokume-gane lies in its one-of-a-kind wood-grain patterns. These are made possible through the deliberate act of carving the metal. By adjusting the angle, depth, tools, and rhythm of carving into the layered billet, completely different patterns emerge. In essence, carving is one of the most vital steps in giving Mokume-gane its life.
2. Purpose of Carving
In Mokume-gane, carving a block of laminated dissimilar metals reveals the hidden layer patterns.
Reasons for carving:
- Remove oxidation and surface films
- Expose the internal structure of the layers
- Control pattern type, contrast, and rhythm
- Enable intentional artistic expression (e.g., waves, clouds, rings, spirals)
3. Types of Carving
Flat Cut
Basic method. Cuts vertically or horizontally into the laminated block to create even-layered patterns.
- Commonly produces ring-like patterns
- Predictable results
- Used in flat jewelry and ornaments
Curve Cut
Carving along curved surfaces introduces soft transitions and flow in the pattern.
- Results in motifs like waves or clouds
- Curves affect how light reflects
- Used in pendants and vessels
Spot Carving
Targeted carving in specific areas to create dots, specks, or spirals.
- Highlights focal patterns
- Adds rhythm and emphasis
- Often seen in fine art or artistic jewelry
4. Tools and Techniques
Common Tools
| Tool | Use |
|---|---|
| Flat File | General smoothing and flattening |
| Half-Round File | Adapts to curves and recesses |
| Diamond Burr | Spot carving, suitable for hard metals |
| Engraving Chisels | Pattern detail and decorative carving |
| Grinder | Rough shaping, caution with heat |
| Rotary Tool / Micro Grinder | Fine patterning (RPM control needed) |
Example Carving Sequence
- Rough shaping – flatten the billet
- Pattern exposure – carve until layers appear
- Artistic shaping – wave or spot accents
- Pre-finish tuning – remove irregularities
5. Impact of Carving Depth
Each metal layer is usually 0.3–1.0 mm thick. Carving even a single layer deeper can drastically change the pattern.
| Depth | Pattern Character |
|---|---|
| Shallow (0.2–0.5 mm) | Soft transitions, blurred edges |
| Medium (0.6–1.0 mm) | Clear, defined layers |
| Deep (1.1 mm +) | Spirals, ripples; high risk of over-cutting |
Notes:
- Too deep can rupture the design
- Excess polishing can erase patterns
6. Carving Strategies Based on Pattern Design
Carving is not just execution—it is the act of pattern design.
Examples:
- Ring pattern → uniform layers + shallow flat cut
- Spiral pattern → twisted billet + local deep carving
- Speckled pattern → spherical spot carving
Craftsman insight:
“Just a 1-degree change in carving angle alters the outcome. The direction and order of carving also shape the flow.”
7. Common Carving Errors and Solutions
| Error | Cause | Solution |
|---|---|---|
| No pattern appears | Carving too shallow or misaligned | Reassess design, increase depth |
| Cracks or delamination | Poor bonding, thermal stress | Reevaluate lamination parameters |
| Unnatural pattern | Over-carving or wrong placement | Use simulation tools, refine carving |
8. CAD & 3D Technology in Carving Design
Some workshops use 3D simulation software (e.g., Fusion 360, Rhino) to predict how carving affects patterns.
- Helpful for design planning
- Complete visualization is still in development
- Artisan intuition remains crucial
9. Carving and Light Interaction
Carving affects how light plays across the surface:
- Gentle curves → soft gradients
- Sharp angles → bold reflections and shadows
- Twists → create dynamic movement in changing light
Example:
“Top exhibition pieces balance beveled edges with smooth transitions to maximize lighting effects.”
10. Carving vs. Polishing
While separate steps, carving and polishing overlap in practice.
- Carving defines the structure and pattern
- Polishing smooths and refines the appearance
- Excess polishing can diminish or erase patterns—better to finalize design during carving
11. Conclusion
Carving defines Mokume-gane’s design. It’s not merely technical—it is the key creative phase. Through artisan hands, metal transforms into wood rings, waves, clouds, and flow.
12. Notes on Variability
- Carving depth and design methods differ by workshop and school
- Tool names and techniques vary by region
- No complete mathematical model exists for pattern prediction; simulation remains experimental
13. Educational Applications
- In workshops, carving often surprises participants as the pattern emerges
- Used as a learning tool in schools and demonstrations
- The moment of pattern appearance provides an emotional artistic experience
14. References
Refer to the original Japanese source for full citations and documentation.

